Celtic Letter C
For Victor in 2001, I made an ornamental letter C
based on a Celtic design. C is the first letter of Carsrud, Victor's
last name, and also the first letter of Campbell, the Scottish clan that
he descends from. When I was in Ireland the previous summer, I saw a lot
of Celtic designs firsthand, and I bought a few books about Celtic artwork.
The best is George Bain's Celtic Art: The Methods of Construction. Bain's book
is absolutely full of ideas and instructions on how to create knots, spirals,
keys, animals, and more. The basis of this design is a lowercase letter e,
which is copied from the Book of Kells (we got to see the Book of Kells in
Dublin!).
Research
|
Lowercase letter e from the Book of Kells, from
George Bain's book.
Fortunately, this is not far from a letter C!
(Click on the picture for a more detailed version,
then press Back to return here.)
|
|
|
Another example of amazing ornamental lettering.
Letter rho from the Book of Lindisfarne, from George Bain's book.
|

|
Practice
|
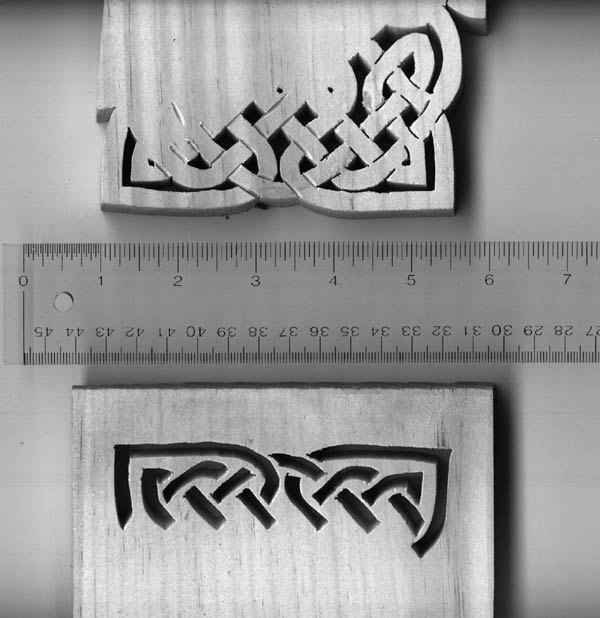
After learning to draw knotwork patterns on paper, I started
drawing them in Adobe Illustrator. At first, I wasn't sure if I
wanted to cut out the "cords", or cut out the gaps between the
cords. So I printed both patterns and tried it.
|

|
|
Here's how they turned out. On the top version, I cut out the gaps, and on
the bottom, I cut out the cords. On the top left, I experimented with
making lines with a Dremel cutter to show which cords go over and which go
under. On the right top, I tried cutting partway through with the saw to
create these lines but it didn't look so good. I decided I like the one on
the top better. It looks more like the design on paper, where the gaps are
drawn in black.
In the final product, I did not makes these cuts at all.
It looked complicated enough without any more details!
|

|
Design
|
The original letter e from the Book of Kells.
|
|
|
To make it into a letter C, I pulled out the crossbar of the e,
stretched out the dragon head a little, and redrew the serpents and the
dragon's tongue to fill up the whole space.
|
|
|
Practice drawing, with Adobe Illustrator.
|
|
|
I wasn't sure if the knotwork would even be possible, so I
practiced a little. After this attempt, I decided that the
super-thin double cord on the left side was not practical,
so I redrew all the double cords as a single thick cord.
The "key" designs, the ones with T shapes and right angles,
turned out pretty well so I didn't have to change them.
Also, I realized that it would be easier to carve the details
if the whole thing was a little bigger. I scaled up the final
design to 10x13 inches.
|
|
|
This is the final pattern. The blue lines are places where I
could not cut all the way through, so I used carving tools to
make lines on the top surface instead.
|

|
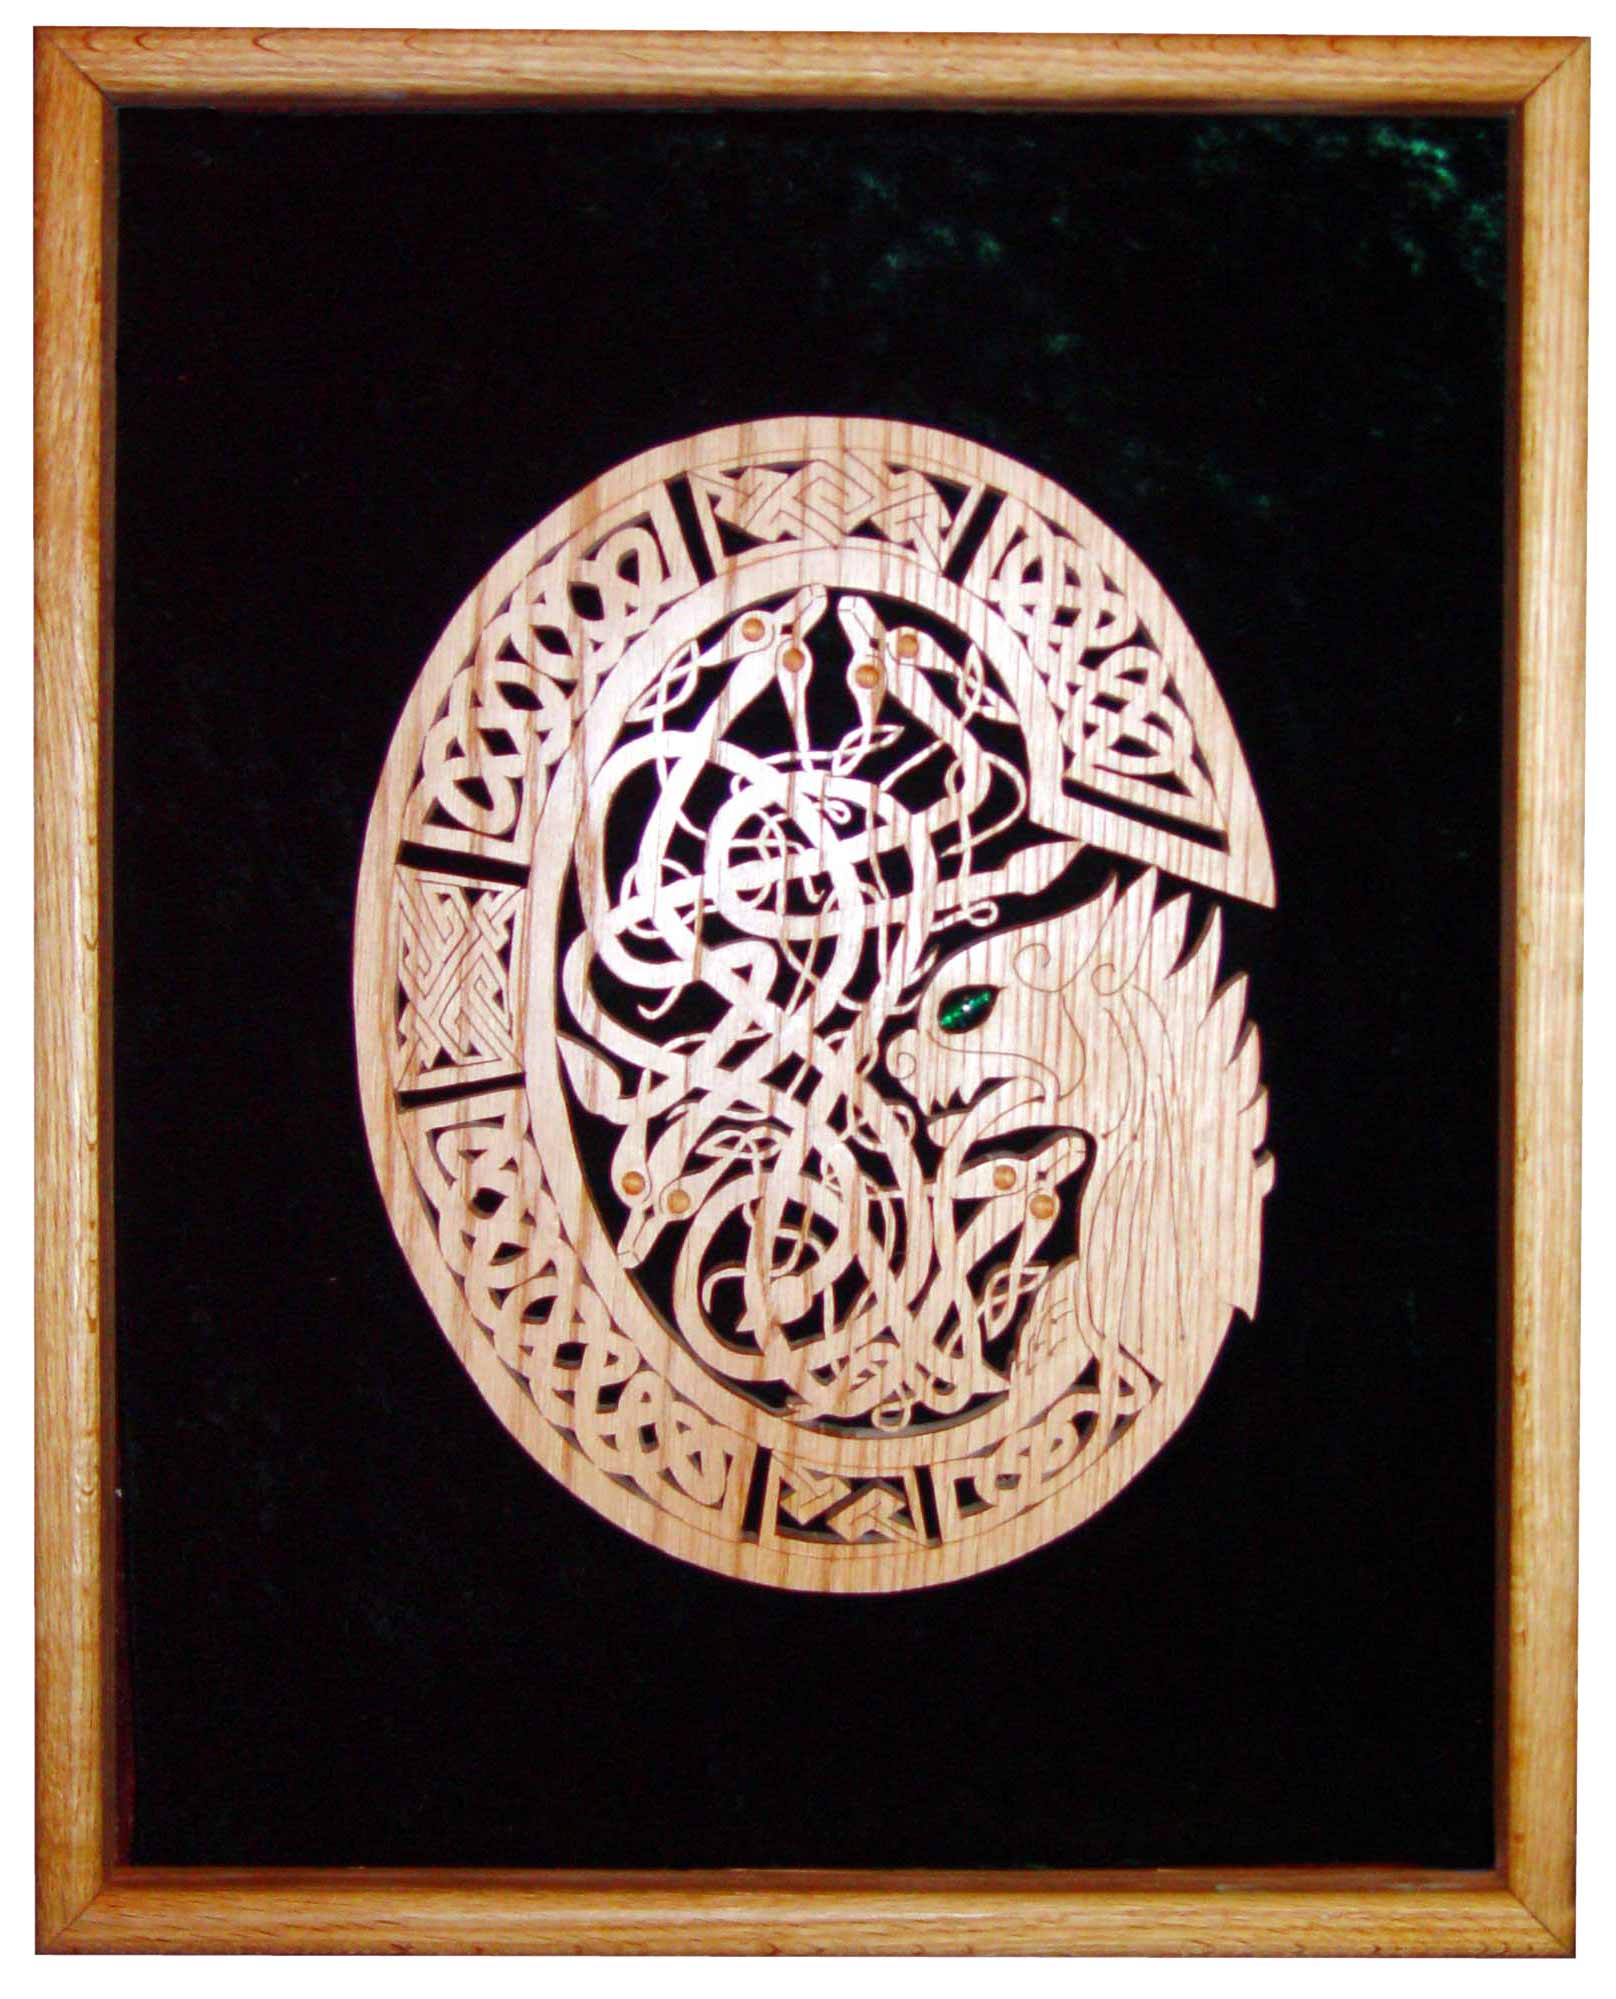
Final Product!
|
After all the drilling, cutting, and carving, I sprayed it
with several coats of polyurethane and made a frame
for it. (Oak 1x3's, rounded with a router and cut at 45 degree angles.)
I mounted it on a piece of green velvet (with significant help from my
wife, mother, and sister), and we glued the frame together. Finally,
it was done!!!
|

|
Details
|
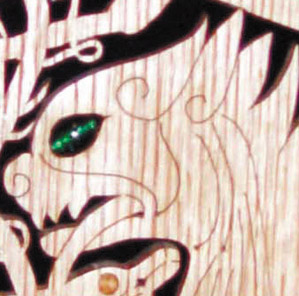
Close-up of large dragon head. The eye is a bead
that my mother found in a bead store in Santa Fe, New Mexico.
The thin lines are made by cutting all the way trhough
the wood with a thin scroll saw blade, and then backing
out.
|

|
|
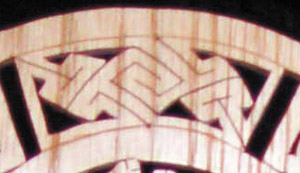
Close-up of knotwork.
|

|
|
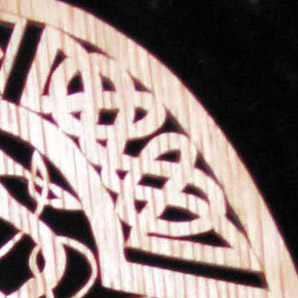
Closeup of key design within the C.
The T-shaped and L-shaped cuts go all the way through
the wood. The large arc at top and bottom are carved
on the surface. (If you cut through those, the whole key
would fall out!)
|

|
|
Close-up of serpent head. All the thin lines are cuts that go all
the way through. The hollow eyes were made by drilling partway into
the wood with a standard drill bit, but not going all the way through.
|

|
Related links